
Are you searching for an effective way to streamline product development and reduce costs?
Prototype machining offers a unique solution that can help you optimize your product development from the ground up.
With our simple guide, you'll quickly understand how to prototype machining can benefit you and your product.
What is Prototype Machining?
Prototype machining is a process of manufacturing custom-designed parts or components in low volume before producing them in high quantities. It allows businesses to take an idea from concept to reality quickly and inexpensively. From implementing design adjustments, determining proper tolerances, and gauging costs, prototype machining provides the necessary steps for creating a viable product.
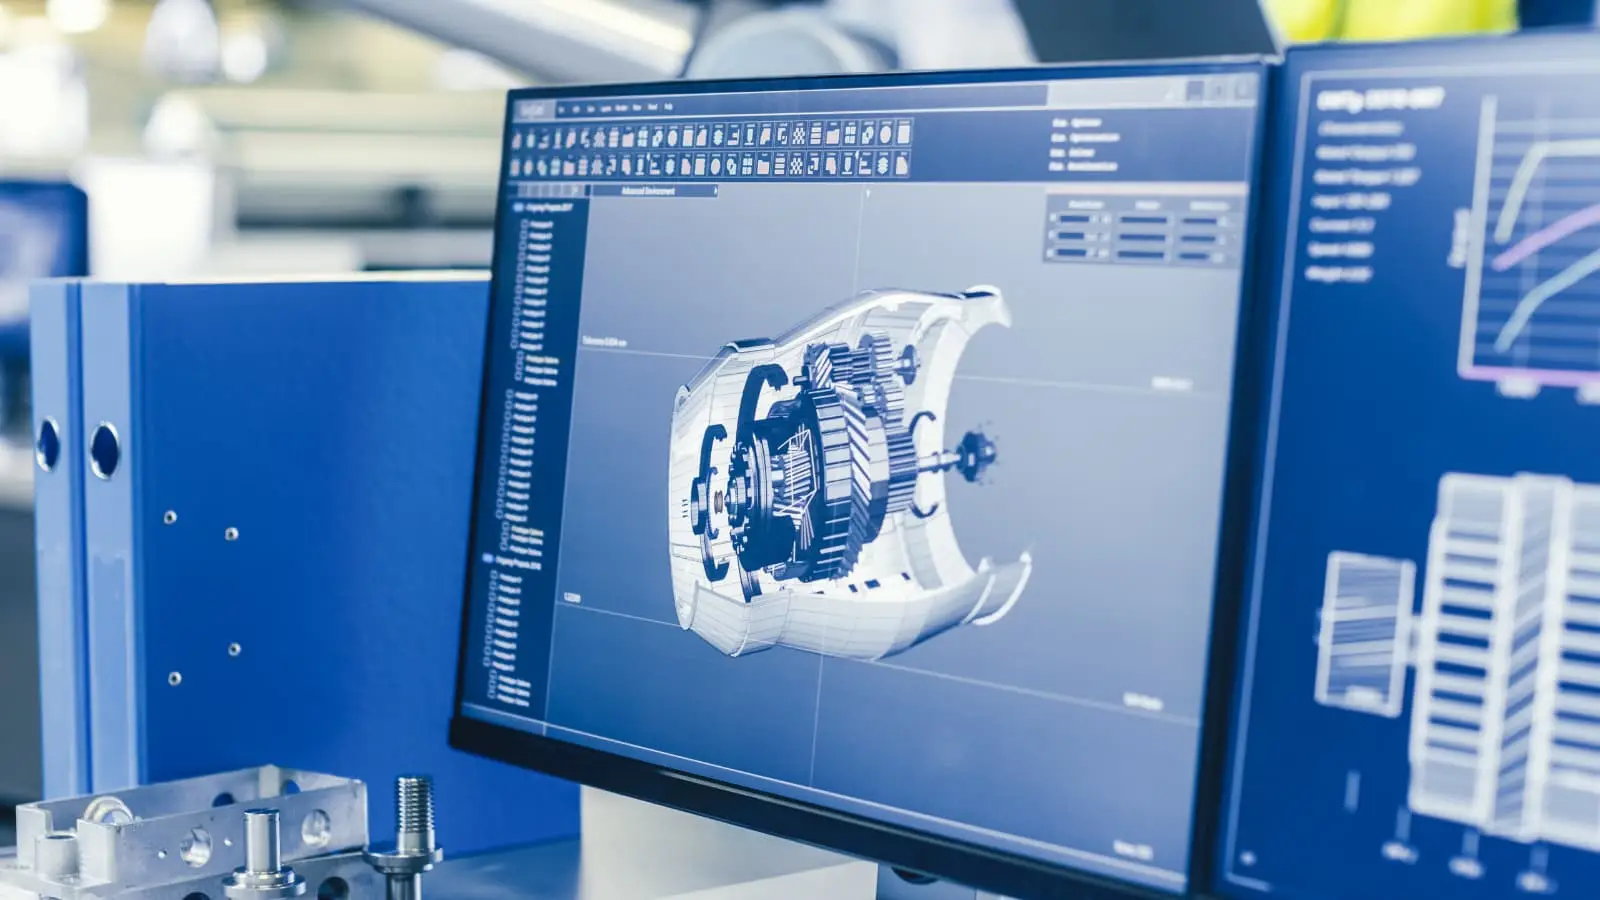
The prototype machining process begins with a digital 3D file for the part or component to be created. The 3D file can be generated using Computer-Aided Design (CAD) tools, such as SolidWorks or AutoCAD, or by scanning a physical object using Reverse Engineering technologies.
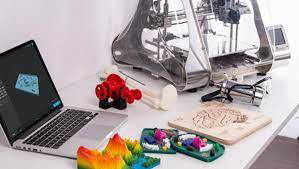
Once the 3D CAD files are ready, they are sent to the prototyping shop, where they will be used to create the piece on specialized machines like mills or lathes. Prototype parts can also be produced using additive technologies such as 3D printing, but most parts will require traditional CNC (Computer Numerical Control) Machinery that is found in prototyping shops.
The prototype machining process often involves multiple steps, including:
- Material selection and preparation.
- Programming the CNC machine.
- Running a sample until it has reached acceptable standards.
- Finishing options such as grinding, sanding, and heat treating depend on customers’ needs/specifications for their parts.
The entire process takes about 10-15 working days, depending on the complexity of the design and the implementation of adjustment post-production.
Overall, prototype machining offers businesses an efficient way of testing concepts before ramping up production in bulk quantity with definitive outcomes that include improved designs; optimized production costs; reduced lead times, improved quality control; assessment of functional capabilities, and more.
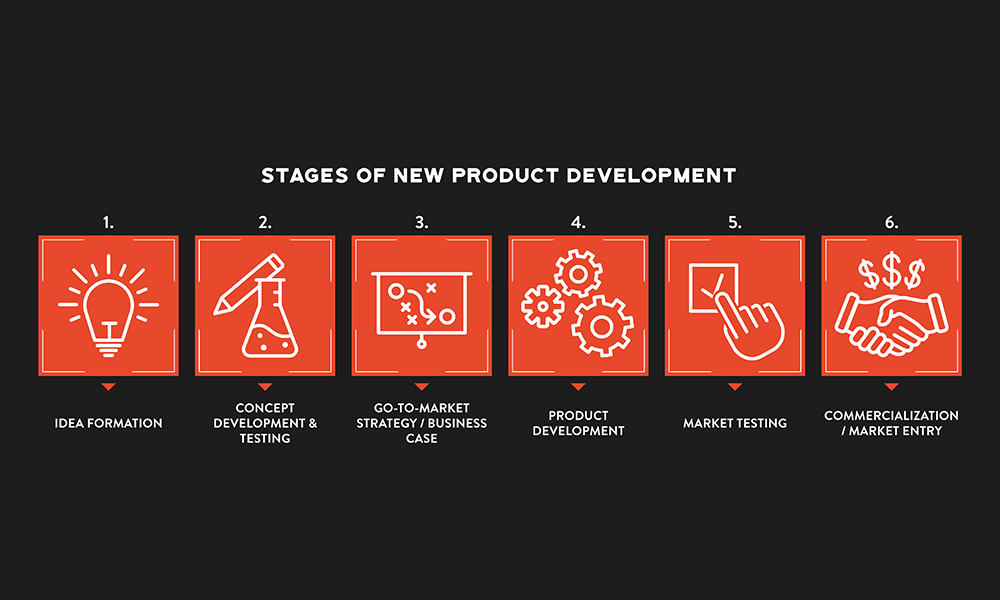
Benefits of Prototype Machining
Prototype machining is an important and cost-effective process used in product development. When used in the early stages of design, it allows you to test, refine and perfect the engineering and manufacturing processes.
There are many advantages to using this process, including the following:
Design Optimization
Prototype machining helps you quickly visualize your product. This allows you to make design changes as needed while ensuring precise tolerances.
Cost Savings
By prototyping your product with precise parts and components, you can reduce production costs because fewer iterations will be necessary before mass production begins.
Testing Solutions
Prototype machining allows you to validate the function and performance of your product by testing early versions of it before investing in more expensive tooling for mass production.
Gaining Market Insights
With prototype machining services, you can enter the market faster by testing various customer feedback solutions through market surveys and prototype tests before heading into full-scale production.
Flexibility
By utilizing prototype machining services, you have flexibility over making quick design changes if necessary, which may not be possible with mass production methods like injection molding or die casting. This technology adds value for both small businesses and large organizations looking for cost-effective solutions that deliver a quality end product on time and on budget.
How to Choose the Right Machining Process?
Prototype machining is an important part of the product development process, as it helps to bring products from concept to life. Before you embark on your prototype machining journey, however, it’s important to understand the different processes involved and choose the right one for your product.
Different processes are suited for different materials and will produce different results. There are many machining options available, but some of the most popular include milling, turning, grinding, and laser cutting.
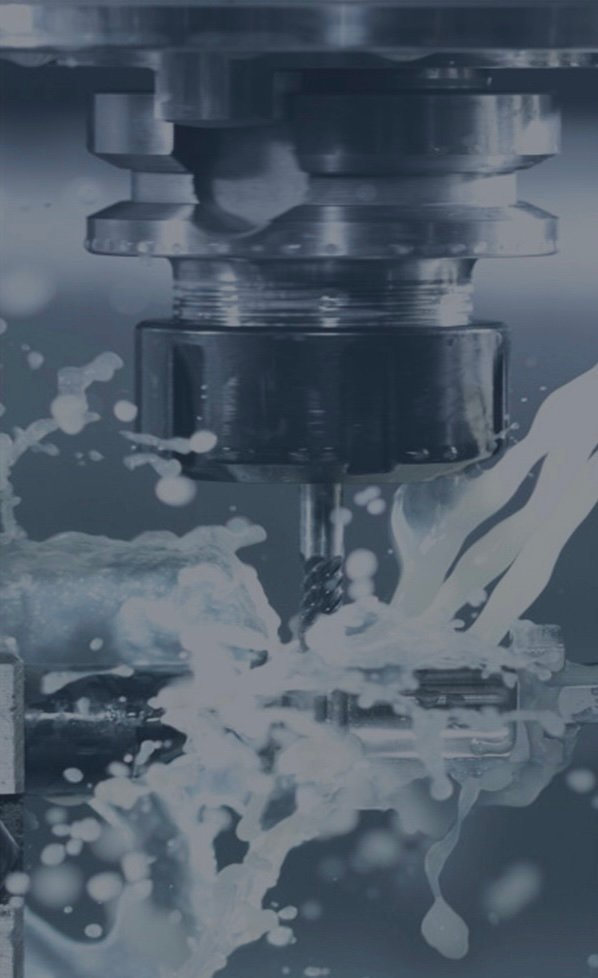
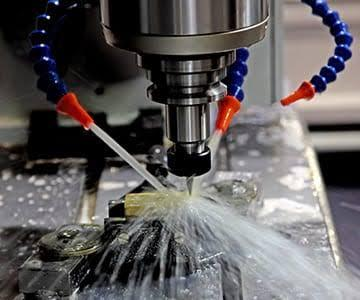
Milling
Milling is the process of machining using rotary cutters to remove material by advancing a cutter into a workpiece. This may be done by varying directions on one or several axes, cutter head speed, and pressure. Milling covers a wide variety of different operations and machines, on scales from small individual parts to large, heavy-duty gang milling operations. It is one of the most commonly used processes for machining custom parts to precise tolerances.
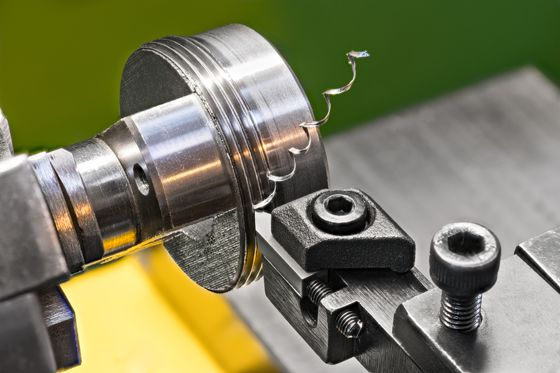
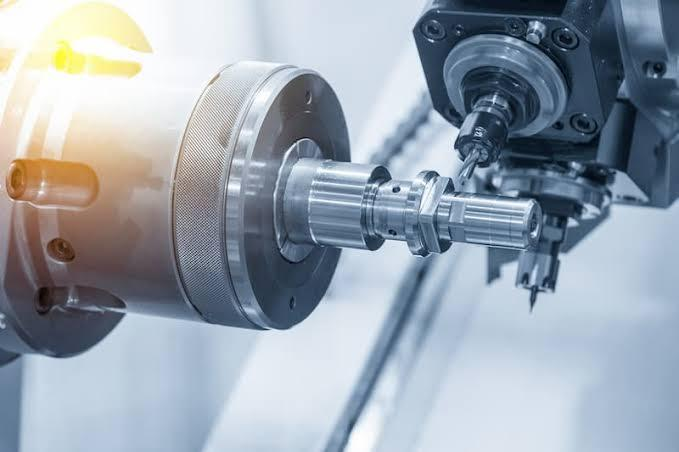
Turning
This is when come material is removed from an object while it rotates with a single cutting edge. This method is best suited to cylindrical components where surfaces need finishing or producing with tight tolerance limits.
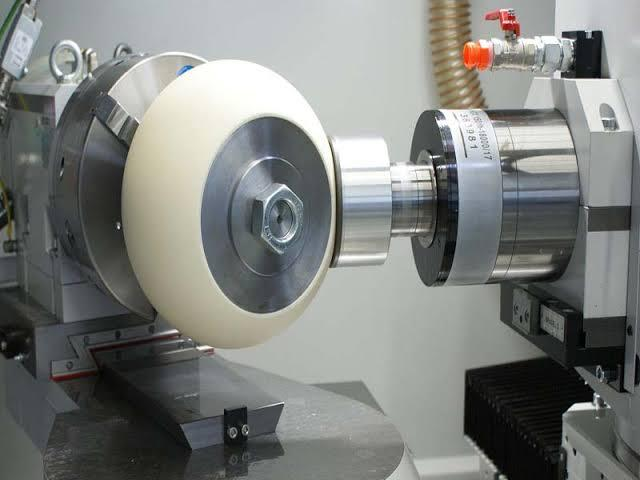
Grinding
It involves removing material from a surface or object by abrading it with varying grit grains at high speeds. It produces superior finishes and surfaces that can be extremely precise but is only suitable for certain applications.
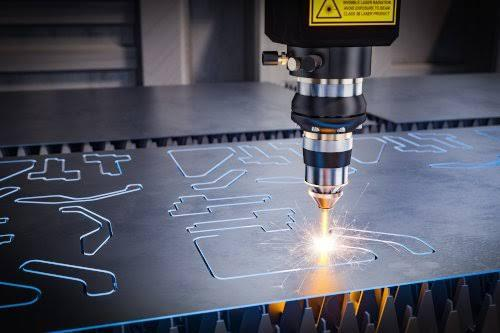
Laser cutting
This uses a highly focused beam of light that moves around rapidly in two-dimensional paths; this method allows for extremely precise cutting through various materials such as metals and plastics of various thicknesses as well as shapes that would prove difficult to cut otherwise.
When choosing a machining process for your project, you should take into consideration your budget along with any time constraints you may have and the type of material that will be used in production (this will often determine which process will deliver the most cost-effective result).
It’s also important to consider any other tools or equipment required; some processes may require specialized tools or machines that you might not have access to, which could significantly increase cost or lead time accordingly.
By weighing up all these factors beforehand, you should be able to reach an informed decision about which process best meets your needs so that you can get started on prototyping quickly and efficiently!
Understanding the Cost of Prototype Machining
The cost of prototype machining is determined by a range of factors, including the raw materials used, the situation and availability of machinery, the size, and complexity of parts, and the overall design. When evaluating the cost of prototype machining services, manufacturers should take into consideration all relevant including the following:
- Material costs: The quality and type of raw material used can have a direct impact on product development costs. Manufacturing components with high-quality metals or alloys can mean additional tooling or finishing costs.
- Tooling costs: The type of tooling employed in prototype machining can also affect the cost associated with providing these services. If multiple operations are required for product development purposes, then more complex tools may need to be produced as well.
- Setup time: Each project will involve some degree of setup time as different configurations are checked to ensure that every aspect runs smoothly throughout production. As such, setup time will be factored into the overall cost when it comes to prototype machining needs.
- Cutting speeds: Maximizing cutting speed will reduce cycle times and help lower production expenses associated with product development projects. For this reason, it is important to choose a supplier that offers access to advanced robotic machinery that is able to complete jobs quickly yet accurately so that only minimal downtime or retooling Investment is necessary for each task.
- Run times: Finding ways to optimize run times can have an enormous impact on total production costs so it's important manufacturers determine how they can speed up processing time while maintaining quality control throughout each phase in their production process.
- Post-processing needs: In certain cases, post-processing, such as deburring, may be necessary after prototype machining operations are completed, which could increase the total cost associated with producing components for novel products or applications.
Quality Control for Prototype Machining
Quality control is an essential component of any successful product development process. Quality control helps ensure that the products produced by prototype machining meet the specifications and requirements. To ensure that your product meets the highest quality standards and is safe for end users, it is important to use quality control procedures throughout the entire manufacturing process.
First, check the raw material before it is used in prototype machining. Make sure all materials have been properly inspected and tested by trained personnel. This includes checking chemical composition, hardness tests, and tensile tests.
All of these factors will help determine if a material is suitable for your prototype or not. Transparency should also be part of a quality assurance process – suppliers should be willing to provide detailed information about their products and processes so you can deduce exactly how they went from raw material to finished product.
Second, monitor production with inspections at every step in order to identify defects early on in the manufacturing process before they cause further damage or delays further down the line. Have qualified people do tests like looking for visible flaws, making sure the measurements are right, and using nondestructive testing (NDT) techniques like X-ray testing or eddy current testing, which can find flaws in parts that can't be seen with the naked eye.
Paying attention to safety at all times when operating machinery found in prototype machining. It helps prevent any incidents during production that could lead to costly delays or downtime due to investigations into any potential accidents that occurred, as well as liabilities due to injury or even death as a result of negligence in regard to safety protocols being followed throughout production periods within the factory environment.
Finally, perform regular maintenance and repairs on your machines and work spaces for optimal performance. Machine maintenance ensures that parts remain precise and that no scraps are left behind that could interfere with subsequent operations down the line.
That causes issues such as manual intervention taking place during stages where automation was initially intended per design. But previously unforeseen errors were inadvertently introduced during earlier steps within the production pipelines, creating discrepancies during the assembly phase and leading to inclement weather. The documentation involved reconfiguring framework foundations.
Common Prototype Machining Materials
When it comes to the prototype machining process, there are a variety of materials available for use. Different materials have different strengths, which makes them ideal for a range of applications. In order to produce the highest quality product, it is important to understand the characteristics and benefits of each material used in the prototype machining process.
Common materials used in prototype machining are as follows:
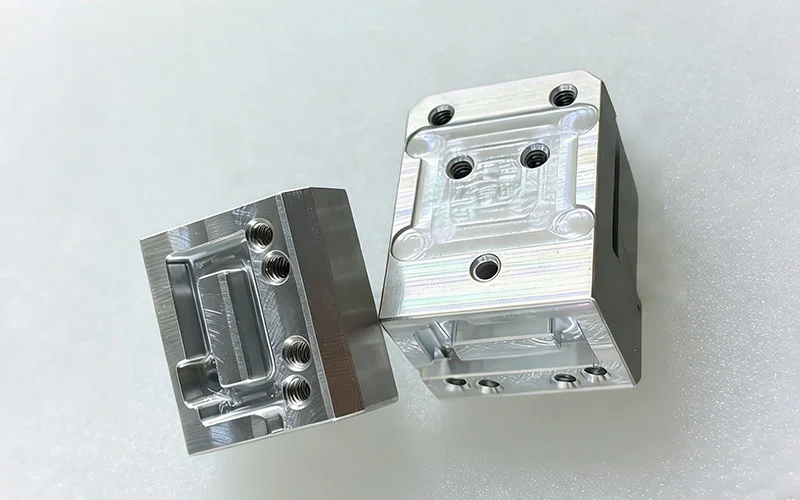
- Aluminum: Aluminum is a lightweight and moderate-strength alloy that is often used in automotive, aerospace, and medical applications due to its strength and durability.
- Brass: This copper-based alloy is very malleable during production which gives the material excellent formability. Additionally, brass has high thermal conductivity and is reasonably priced compared to other metals. It is often used in seals and fittings that require precise tolerances because it can be easily machined into intricate shapes.
- Stainless Steel: When it comes to strength, stainless steel offers superior tensile strength with resistance to high-temperature environments making it an ideal choice for industrial machinery parts as well as consumer electronics applications.
- Plastics: While plastic may not have the same strength or hardness as metal alloys, these polymers offer tremendous versatility when it comes to prototyping complex geometries or internal features such as gear teeth, channels, or ribs that require precise dimensions and aesthetic details which can be cost prohibitive or even impossible with other metals.
- Titanium alloys: Titanium shows promise for use in many industries due to its low density but incredibly strong tensile strength even at high temperatures making it perfect for aerospace applications where weight needs to be minimized while still keeping parts robust enough during operation at high speeds or altitudes.
Tips for Optimizing Prototype Machining
Prototype machining makes it possible to quickly and cost-effectively create a physical model of your product design. This process allows you to see the product in three dimensions, test it with actual users, and get feedback that can inform the final design.
By understanding the basics of prototype machining and some helpful tips for optimizing the process, you can ensure that each iteration of your product is closer to perfection. Here are some tips for making your prototype machining process as efficient and successful as possible:
- Start with a Solid Design: Going into the prototype machining process without a clear and accurate design brief can be costly. Make sure to consult with designers and engineers about the production requirements before beginning the process so that you have an idea of what works best for your particular application.
- Use Quality Materials: To ensure that your prototype meets your durability needs, use quality materials such as aluminum or steel instead of plastic or other more fragile materials. A good quality material not only helps improve accuracy during CNC machining but also saves time by reducing rework due to material defects or incorrect tolerances.
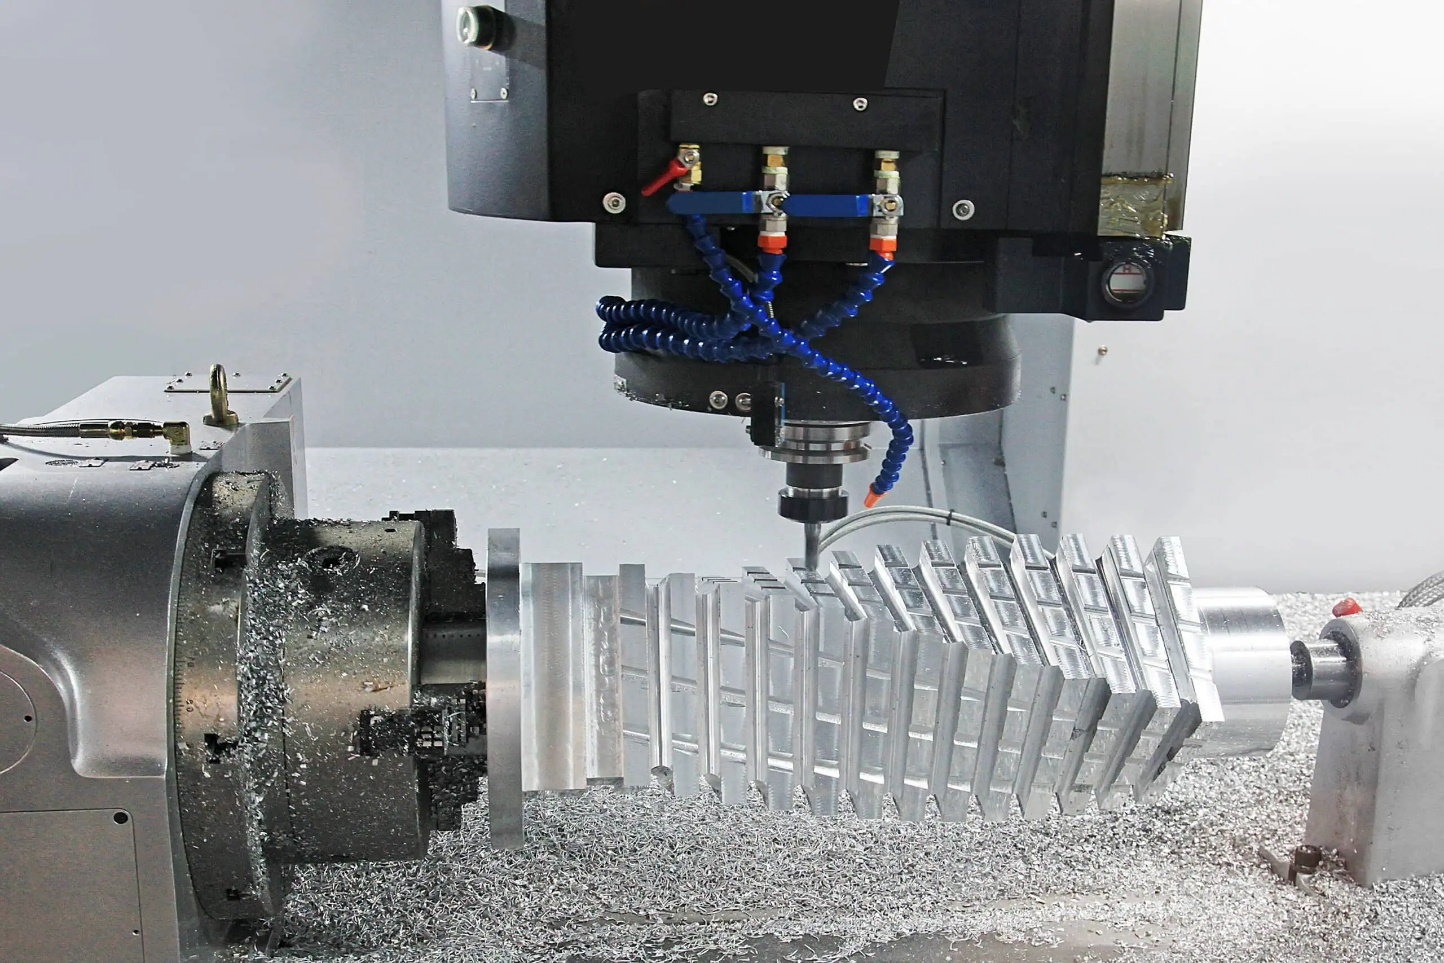
- Utilize Advanced Technology: When it comes to getting repeatable results from prototype machining, advanced technology can be invaluable tools in both speed and accuracy – like 5-axis CNC mills or automated spindles – which can be used to produce components faster than ever before while ensuring precision accuracy on each iteration.
- Keep Tolerances in Check: Keeping tight tolerances is key in ensuring repeatable results from prototypes; however, this doesn’t mean sacrificing two processes while trying to make all parts identical in shape and size - measuring tolerances too aggressively could easily become inefficient from both cost and time perspective due effort spent on iterations without much result gained in value-added features. Keep things reasonable by assessing tolerance requirements based on customer feedback after initial testing rounds for optimal efficiency.
- Reuse Existing Tooling: By using tooling designed for previous prototypes (when these share said features), costs can be drastically reduced since all tooling needs are usually met without any requirement for additional equipment.
Frequently Asked Questions
How does prototyping help in the development of a product?
Prototypes enable designers to collect data from actual users about how to improve their products. Their feedback will allow the design team to make adjustments earlier on. To make a product, you need a group of designers who can share their thoughts and designs with one another.
What are the 6 reasons why you need to do prototyping?
- Clear your mind
- Quickly test the market to see if your idea will work
- Don't waste money
- Create a uniform user experience
- Proven ideas win over stakeholders
- Tune up the prototype to make your idea shine
What is the main aim of prototyping?
Prototyping is an iterative technique whereby design groups put their ideas into physical (paper or digital) form for testing purposes. Teams create prototypes of different resolutions to record design concepts and put them to the test with end users. Prototypes allow you to continuously improve and verify product designs before going to production.
What are two key elements of successful prototyping?
- The key is speed. In other words, you wouldn't go with your first design as the final product.
- Keep it simple. It's important not to overdo it when employing prototypes frequently and early in the development process.
Final Words
Prototype machining can provide engineers and product developers with the data and information needed to create an optimal product, as well as reduce development time and cost. Rapid prototyping utilizing CNC machining and 3D printing technology is a productive option for companies looking to streamline their development process.
By using a combination of complementary prototype processes, such as rapid tooling and finishing, manufacturers can optimize production speed, quality, and cost-effectiveness. They can also develop prototypes that are more reliable due to increased tolerances.
Finally, they should also factor in the use of skilled 3D designers/modelers, as they often have knowledge of downstream manufacturing processes and materials that could further your prototype development efforts in the right direction.