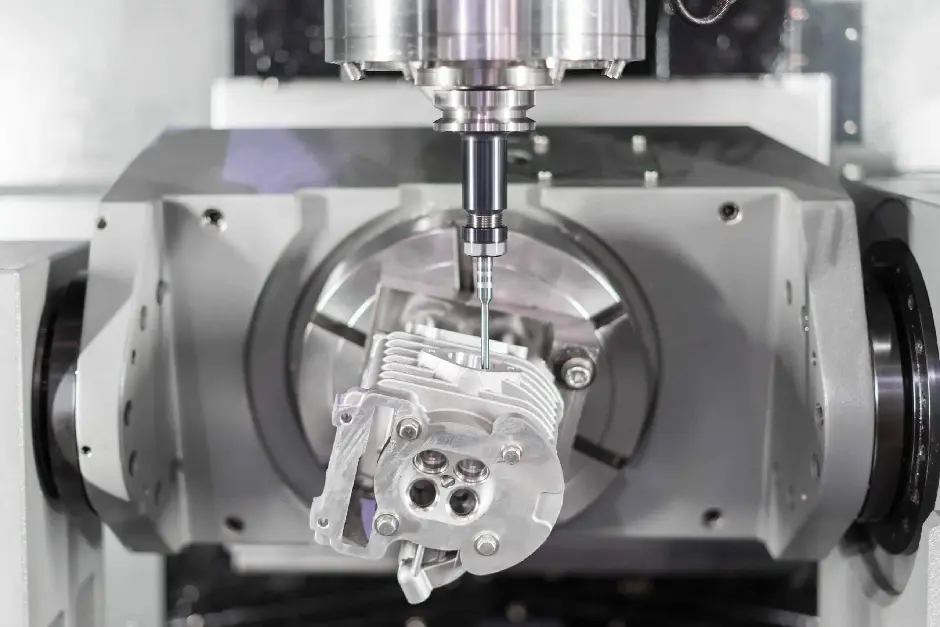
Pressure leaks in CNC systems silently drain efficiency and compromise precision. Many shops discover these invisible problems only after experiencing mysterious tolerance failures and unexplained quality issues.
Ultrasonic leak detection identifies microscopic leaks by capturing high-frequency sounds produced by escaping gases or fluids. This non-invasive technology detects leaks in pneumatic systems, hydraulic lines, and vacuum chambers before they affect machining accuracy, saving both time and material waste.
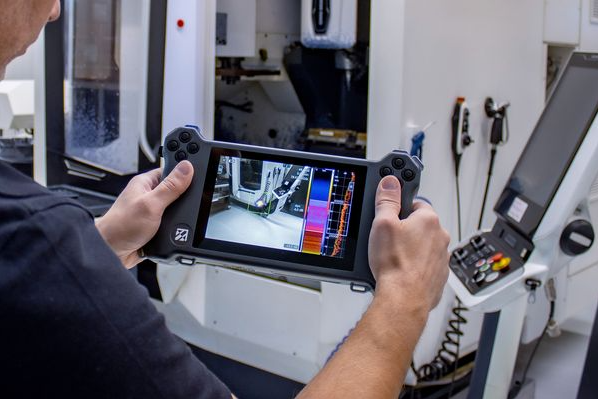
Ultrasonic leak detection is being performed on CNC equipment
In our facility, implementing ultrasonic leak detection reduced our rework rates by 23% within just three months. The technology has transformed how we maintain our precision manufacturing equipment, allowing us to catch potential issues before they impact critical components.
What causes pressure leaks in precision machining environments?
Pressure system integrity faces constant threats from vibration, thermal cycling, and material fatigue. In our shop, we discovered that even premium fittings can develop micro-leaks after just six months of operation in high-precision applications.
Leaks typically develop at connection points, seals, and valves due to normal wear, improper installation, or material degradation. Vibration from machining operations gradually loosens fittings, while thermal expansion and contraction cycles create microscopic pathways for air or fluid escape, particularly in systems experiencing pressure fluctuations.
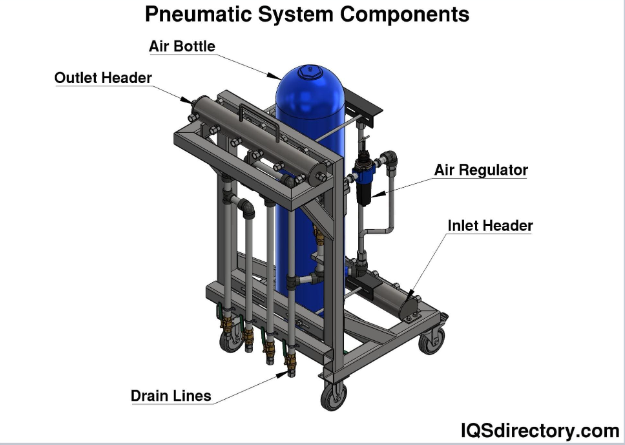
Common leak points in CNC pneumatic systems
Pressure leaks in precision machining environments stem from multiple sources that compound over time. The primary culprits include mechanical vibration, which gradually loosens threaded connections and creates microscopic gaps in sealed systems. This is especially problematic in high-speed machining operations where sustained vibration can accelerate wear on sealing surfaces.
Thermal cycling presents another significant challenge. As CNC machines heat up during operation and cool down during idle periods, materials expand and contract at different rates. These differential movements stress connection points and create tiny gaps where pressure can escape. We've observed this particularly in hydraulic systems where temperature variations can exceed 30°C between startup and full operation.
Material compatibility issues also contribute to leak development. Many shops use generic fittings that aren't optimized for specific fluids or gases, leading to premature deterioration of seals and gaskets. In our experience, using fluoroelastomer seals instead of standard nitrile rubber can extend seal life by 200-300% in hydraulic systems exposed to synthetic oils and higher temperatures.
| Leak Cause | Impact on Precision | Prevention Method |
|---|---|---|
| Vibration | Gradual loosening of connections | Regular torque verification, vibration dampening |
| Thermal cycling | Expansion/contraction stress at joints | Flexible connections, proper expansion loops |
| Material degradation | Seal failure, fitting corrosion | Compatible materials, scheduled replacement |
| Improper installation | Immediate or developing leaks | Standardized procedures, torque specifications |
| System pressure spikes | Stress on connections and seals | Proper pressure regulation, shock absorbers |
How do ultrasonic detection technologies identify microscopic leaks?
When compressed air escapes through a pinhole leak, it creates high-frequency sound waves that are impossible to hear naturally. Ultrasonic detectors transform these silent signals into audible warnings, allowing us to pinpoint even the smallest leaks with surprising accuracy.
Ultrasonic leak detectors work by capturing high-frequency sound waves (typically 20-100 kHz) produced when pressurized fluids escape through small openings. These sounds are then converted to lower frequencies audible to human ears, with intensity indicators helping technicians locate the exact leak source.

Ultrasonic leak detection in progress
Ultrasonic detection technology functions on a fascinatingly simple principle with sophisticated implementation. When pressurized gas or liquid escapes through a small opening, the molecules create turbulence that generates ultrasonic sound waves above the normal human hearing range of 20 kHz. These high-frequency emissions provide a sonic signature that's distinct from typical machine operation sounds, making them ideal for detection even in noisy manufacturing environments.
Modern ultrasonic detectors employ specialized transducers that convert these ultrasonic waves into electrical signals, which are then processed and translated into forms that technicians can interpret. The most effective systems use heterodyning technology to shift the ultrasonic frequencies down into the audible range while maintaining their characteristic patterns. This allows operators to "hear" leaks through headphones while simultaneously viewing signal strength indicators.
The sensitivity of today's equipment is remarkable – capable of detecting leaks as small as 0.005 mm in diameter from several feet away. We've successfully located leaks in our vacuum chambers that were losing only 1×10⁻⁵ mbar·l/s, which would have been impossible to find using traditional methods like soap bubble testing.
| Detection Feature | Capability | Benefit for CNC Applications |
|---|---|---|
| Frequency range | 20-100 kHz | Filters out most manufacturing noise |
| Sensitivity | Down to 0.005 mm openings | Catches leaks before they affect precision |
| Directional capability | ±3° accuracy | Precise location identification |
| Signal processing | Real-time frequency analysis | Differentiates between leak types |
| Data logging | Historical comparison | Tracks system degradation over time |
When should manufacturers implement ultrasonic testing in their quality control?
Every time we skip preventive maintenance, we're gambling with precision. After losing a $40,000 aerospace contract due to undetected air system leaks, we now perform ultrasonic testing during every scheduled maintenance interval.
Manufacturers should implement ultrasonic testing during installation/commissioning of new equipment, scheduled preventive maintenance cycles, after significant repairs, when experiencing unexplained precision issues, and as part of energy efficiency audits. Regular testing helps identify problems before they affect production quality.
Ultrasonic testing integration into maintenance schedules
The timing and frequency of ultrasonic leak detection implementation should be tailored to the specific demands of the manufacturing environment and the criticality of the machining operations. For high-precision CNC operations, especially those producing components with tight tolerances below ±0.005mm, we recommend integrating ultrasonic testing into multiple quality control touchpoints.
New equipment commissioning represents the first critical implementation point. Establishing baseline acoustic signatures of properly functioning systems provides valuable reference data for future comparisons. During our last installation of five-axis machining centers, ultrasonic testing revealed factory assembly issues in the pneumatic control systems of two machines that would have caused intermittent positioning errors once in production.
Regular preventive maintenance intervals should incorporate structured ultrasonic testing protocols. The frequency depends on system criticality – for our vacuum chamber machining equipment, we conduct weekly quick-scan testing and monthly comprehensive examinations. This proactive approach has reduced unplanned downtime by approximately 67% compared to our previous reactive maintenance strategy.
Post-repair verification is another essential implementation point. After any work on pressure systems, ultrasonic verification ensures the repair hasn't created new issues elsewhere in the system due to pressure changes or component manipulation. We've developed a standardized procedure that requires ultrasonic verification before returning equipment to production following any pneumatic or hydraulic service.
| Implementation Timing | Testing Scope | Business Impact |
|---|---|---|
| Equipment commissioning | Comprehensive baseline | Prevents startup precision issues |
| Weekly maintenance | Quick-scan critical connections | Minimizes unexpected downtime |
| Quarterly inspections | Full system assessment | Maintains energy efficiency |
| After precision anomalies | Targeted troubleshooting | Reduces scrap and rework |
| Following repairs | Validation of fix effectiveness | Ensures quality restoration |
Why is early leak detection critical for maintaining machining accuracy?
A 2mm tolerance deviation in aerospace components cost us three weeks of rework and nearly damaged our reputation. The root cause? A microscopic hydraulic leak that gradually altered our machine's performance over time.
Early leak detection prevents the cascade of precision-reducing effects that even small leaks create. Pressure inconsistencies from undetected leaks cause fluctuations in clamping force, cutting tool stability, and axis positioning accuracy. Identifying these issues before they manifest in finished parts preserves dimensional accuracy and surface finish quality.
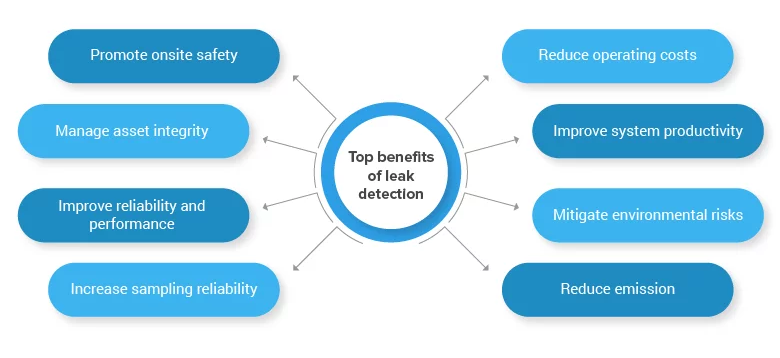
Quality improvement after implementing leak detection
The relationship between pressure system integrity and machining accuracy represents one of the most underappreciated aspects of precision manufacturing. Early leak detection plays a pivotal role in maintaining the complex equilibrium required for consistent high-precision results, particularly when working with demanding materials like titanium alloys or manufacturing components with intricate geometries.
When pressure leaks develop gradually, they create insidious precision drift that may remain undetected through multiple production runs. In our experience with medical implant components, a slow-developing leak in a hydraulic clamping system resulted in incremental changes to workholding force. This caused imperceptible movements during machining operations – sometimes as little as 0.008mm – but these minute shifts accumulated into out-of-tolerance conditions that weren't caught until final inspection.
The financial implications extend far beyond the immediate costs of rejected parts. When we analyze the true impact of precision failures, we must consider material waste, machine time, labor, rescheduling costs, and potential contractual penalties. For a single production run of specialized vacuum chamber components, we calculated these combined costs at approximately $32,000 – nearly eight times what we now invest annually in our ultrasonic leak detection program.
| Precision Impact Area | Effect of Undetected Leaks | Detection Benefit |
|---|---|---|
| Positional accuracy | Inconsistent axis movement | Maintains specified tolerances |
| Surface finish | Vibration and chatter | Ensures consistent quality |
| Tool life | Irregular cutting conditions | Extends expensive tooling lifespan |
| Repeatability | Process drift over production runs | Delivers consistent parts across batches |
| Energy consumption | Increased power requirements | Reduces operational costs |
Conclusion
Ultrasonic leak detection has transformed our CNC machining precision, catching invisible problems before they impact quality. By implementing regular testing, we've reduced downtime, improved part consistency, and gained a competitive edge in precision-critical industries.

