
Poor surface finishes cost us time and money. Just last month, we had to reprocess an entire batch of vacuum chamber components because the curved interior surfaces showed visible tooling marks.
Surface finish on curved surfaces is primarily determined by tool path strategy, with step-over distance being the most critical factor. Proper tool path planning reduces machining marks, minimizes post-processing requirements, and ensures dimensional accuracy while maintaining optimal production efficiency.
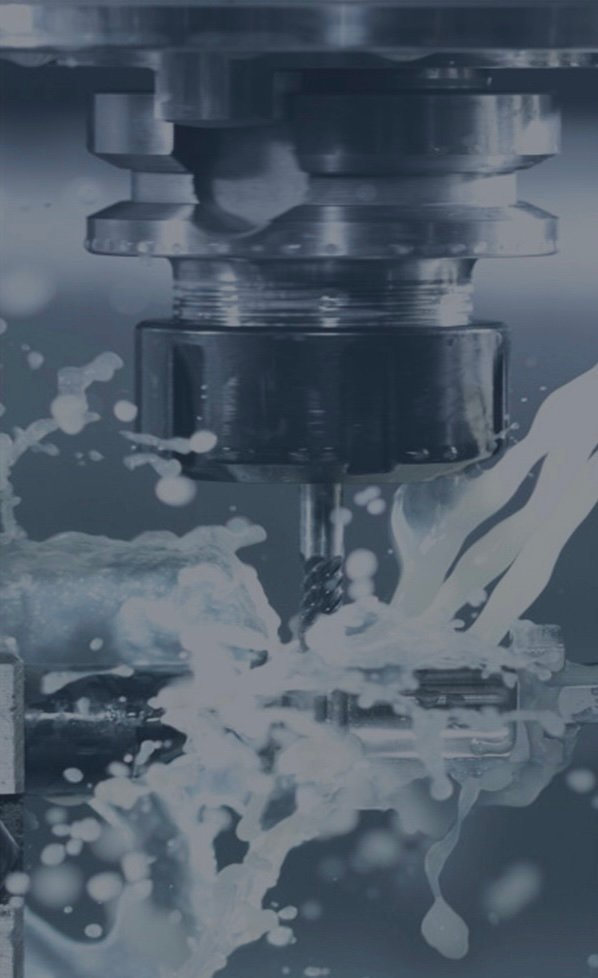
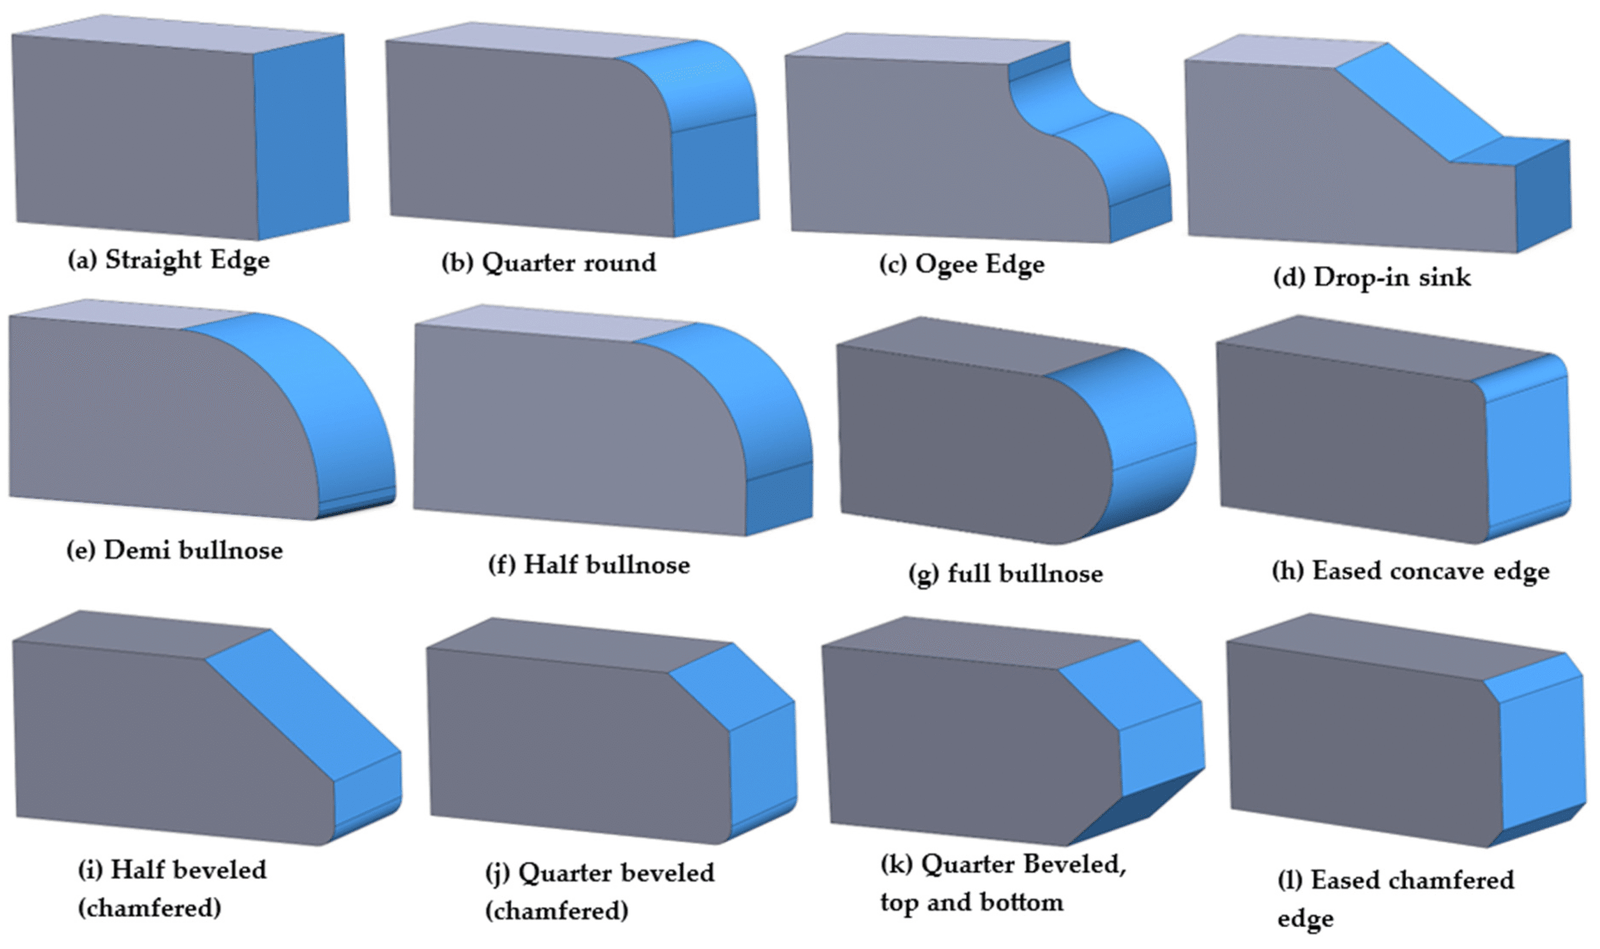
Comparison of surface finishes on curved parts
Let me walk you through what we've learned over 15 years of machining complex curved surfaces. Whether you're dealing with automotive components, marine parts, or semiconductor chambers, these principles will help you achieve the surface quality your applications require.
How Does Tool Path Direction Affect Surface Finish On Curved Surfaces?
Choosing the wrong tool path direction caused one of our sailboat part orders to require extensive manual finishing. The customer wasn't happy with the extra time and cost.
Tool path direction significantly impacts surface finish on curved surfaces because it determines how the cutting tool engages with the material. Cutting along the contour of the curve generally produces better results than cutting perpendicular to it, as it creates more consistent tool engagement and reduces the visibility of step marks.
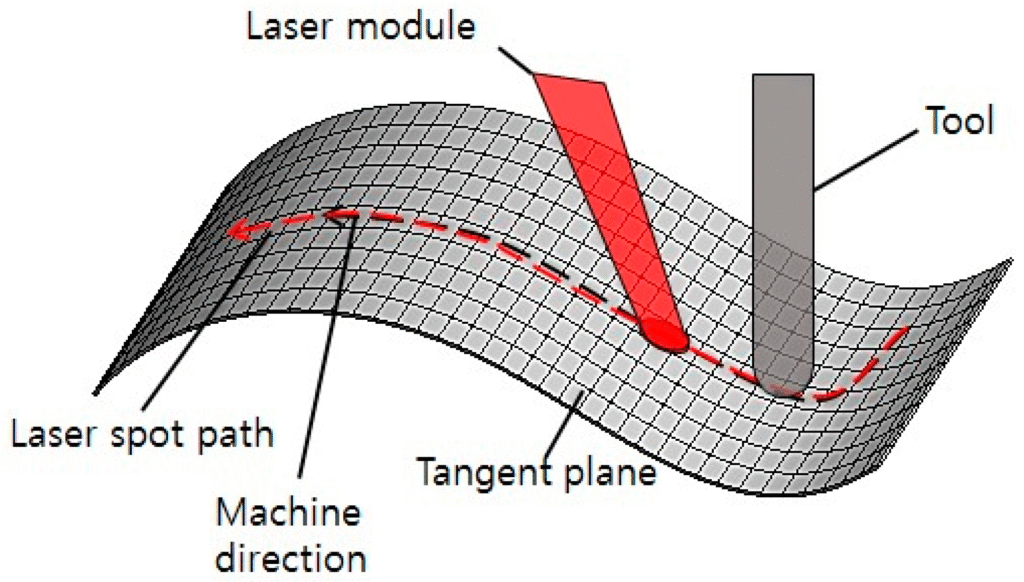
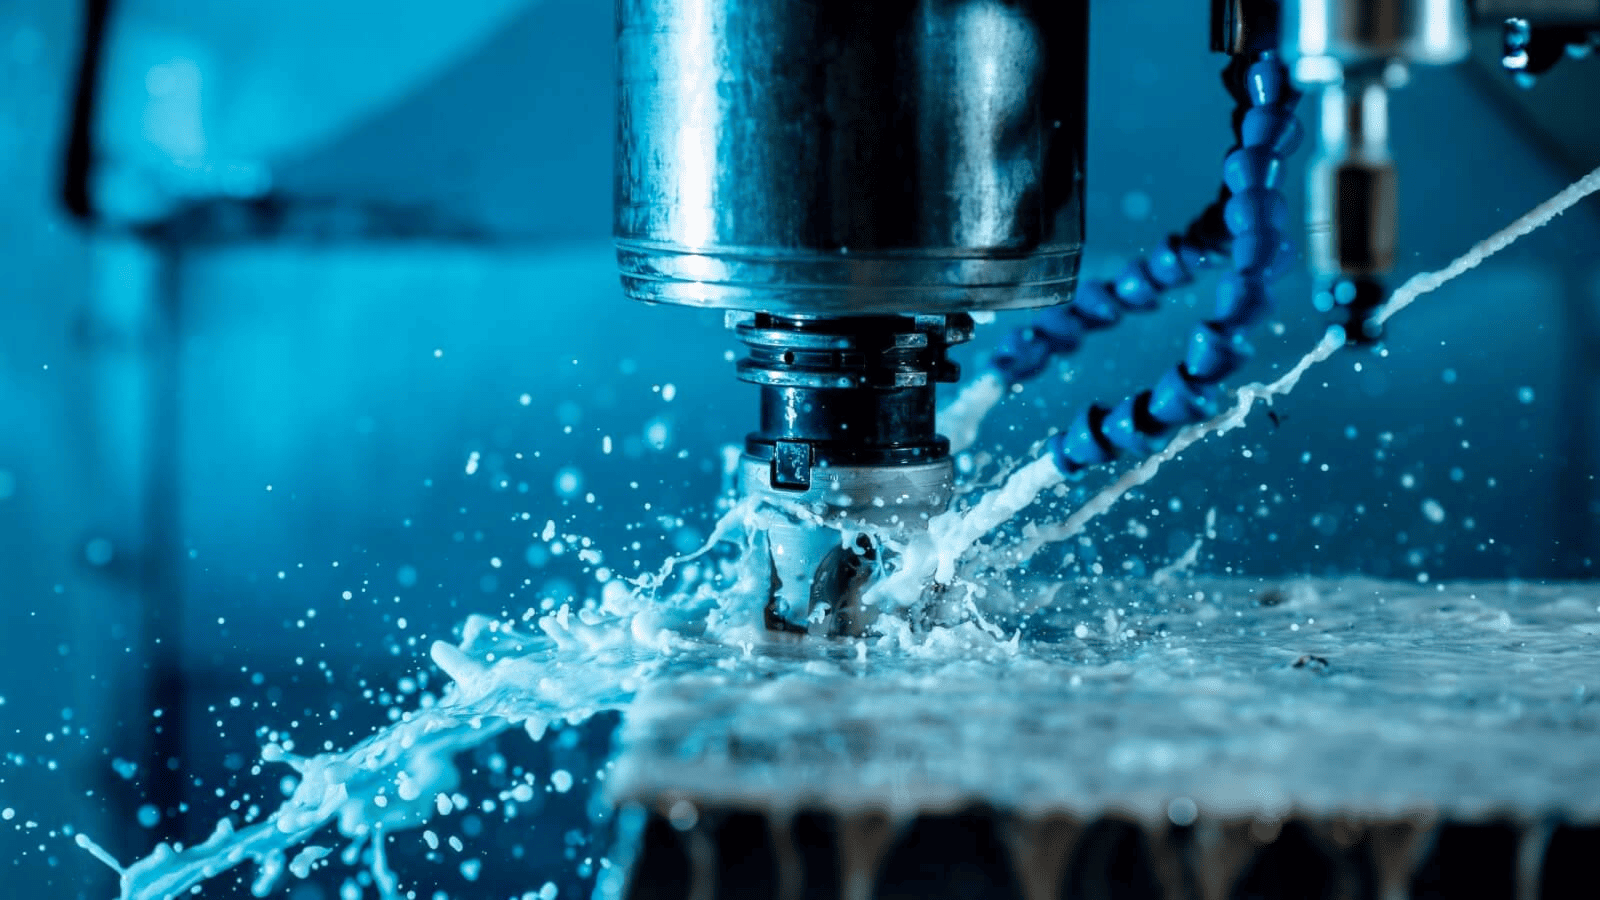
Different tool path directions on a curved workpiece
The relationship between tool path direction and surface finish on curved surfaces is more complex than it might initially seem. From our experience machining precision components for industries ranging from automotive to aerospace, we've found that this relationship depends on several interacting factors.
When machining curved surfaces, the tool path direction relative to the curvature creates varying chip loads and cutting forces. Climbing cuts (where the cutter rotation matches the feed direction) typically produce better surface finishes on curves because they start with a thicker chip that gradually thins out. This reduces the likelihood of work hardening and tool deflection that can cause surface imperfections.
For convex curves, we've found that following the contour with a climbing cut produces the best results. However, for concave curves, the approach needs to be modified to maintain consistent tool engagement. In these cases, using a smaller step-over and controlling the effective cutting radius becomes even more important.
Consider these tool path strategies for different curved surfaces:
| Surface Type | Recommended Tool Path Strategy | Benefits |
|---|---|---|
| Gentle Convex | Contour-parallel, climbing cut | Reduced tool marks, consistent cutting forces |
| Steep Convex | Spiral outward pattern | Eliminates start/stop marks, maintains constant engagement |
| Shallow Concave | Contour-parallel with reduced step-over | Prevents tool marks at the center |
| Deep Concave | Multi-axis toolpath with constant tool contact | Eliminates undercuts and inconsistent finishes |
What Step-Over Distance Should Be Used For Optimal Surface Finish?
We once lost a semiconductor client because our step-over was too large on their vacuum chamber curves, leaving visible faceting that failed their visual inspection requirements.
The optimal step-over distance for curved surfaces typically ranges from 3-10% of the tool diameter, with smaller percentages producing finer finishes but longer machining times. This balance between quality and efficiency must be carefully calculated based on the radius of curvature, required surface finish, and tool geometry.

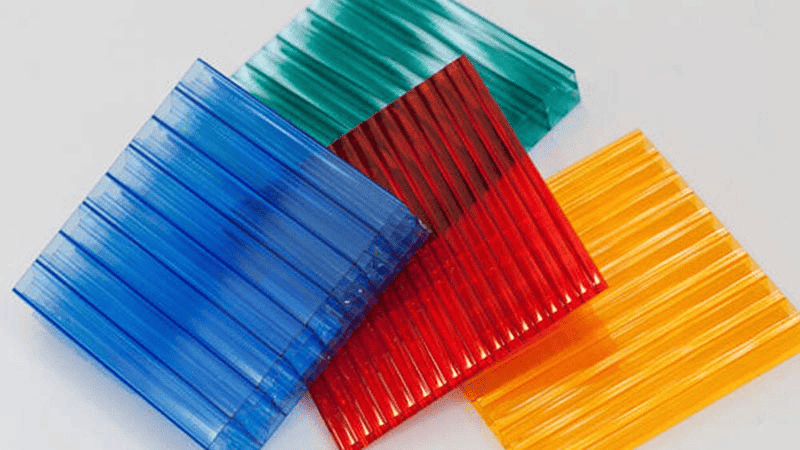
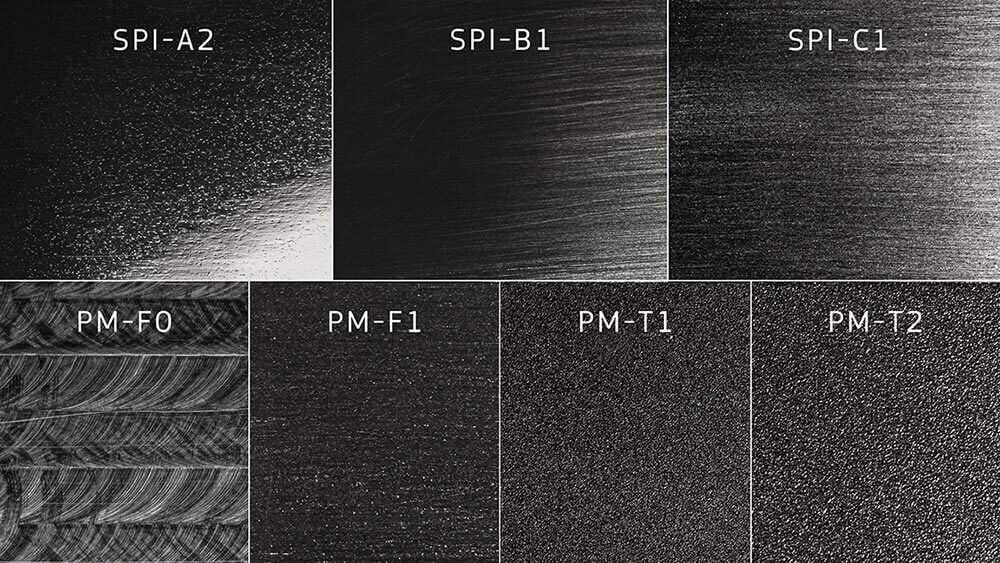
Impact of different step-over distances on surface finish
Step-over distance is arguably the most critical factor in determining surface finish quality on curved surfaces. Through years of machining precision components for demanding industries, we've developed a systematic approach to determining the ideal step-over for different scenarios.
The mathematical relationship between step-over and surface finish is defined by the scallop height formula: h = r - √(r² - (s/2)²), where h is the scallop height, r is the tool radius, and s is the step-over distance. This means that for a given tool diameter, reducing the step-over by half reduces the scallop height by approximately 75%, dramatically improving surface finish.
However, there's a significant trade-off with machining time. From our production data, we've observed that reducing step-over from 10% to 5% of tool diameter typically doubles machining time while reducing it to 3% can triple or quadruple production time. For high-volume automotive components, this can significantly impact costs, while for precision vacuum chambers, the additional time is often justified.
We've developed this reference table based on our production experience:
| Application | Curvature Radius | Recommended Step-over (% of tool diameter) | Expected Ra Value (μm) |
|---|---|---|---|
| Aesthetic surfaces | Large (>100mm) | 3-5% | 0.4-0.8 |
| Precision mating surfaces | Medium (20-100mm) | 5-8% | 0.8-1.2 |
| Functional non-critical | Small (<20mm) | 8-12% | 1.2-2.0 |
| Surfaces requiring post-finishing | Any | 10-15% | 1.5-3.0 |
How Does Tool Shape Influence Surface Finish On Complex Curves?
We lost hours of production time when we used a ball-nose end mill with too large a diameter for a complex automotive component, resulting in inconsistent surface finish and dimensional inaccuracies.
Tool shape selection should match the curvature geometry, with ball-nose end mills ideal for general curved surfaces, bull-nose (toroidal) cutters for transitional areas, and tapered ball-nose tools for deep cavities with varying wall angles. The tool radius should be proportional to the smallest radius of the curved feature.

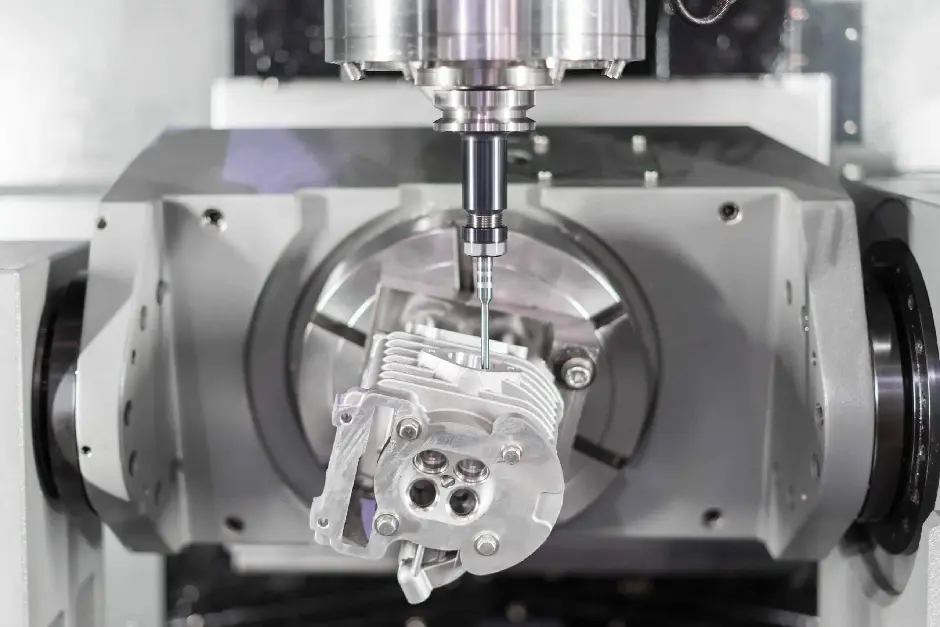
Comparison of surface finishes from different tool geometries
The interaction between tool geometry and curved surfaces creates a complex relationship that directly impacts the achievable surface finish. After machining thousands of complex parts, we've gained valuable insights into how different tool shapes perform across various curved geometries.
Ball-nose end mills are the standard choice for curved surface machining because they produce consistent scallop heights regardless of the tool angle relative to the surface. However, at very steep or near-vertical portions of curved surfaces, the effective cutting speed at the center of a ball-nose tool approaches zero, which can lead to rubbing, work hardening, and poor surface finish.
For these challenging areas, we've found that tapered ball-nose tools provide significant advantages. The tapered design allows for better tool rigidity while maintaining a smaller ball radius that can access tight curves. In our sailboat component production, switching to 10° tapered ball-nose tools improved surface finish by approximately 35% on complex curved intersections while extending tool life.
The relationship between curvature radius and tool radius is particularly important. Our testing shows that:
| Curvature Type | Optimal Tool Diameter Relationship | Surface Finish Impact |
|---|---|---|
| Large open curves | Tool diameter ≈ 1/3 of minimum curve radius | Optimal balance of finish and efficiency |
| Tight inside corners | Tool diameter ≤ 1/2 of corner radius | Prevents corner material buildup |
| Variable curvatures | Progressive toolpath with multiple tool sizes | Ensures consistent finish across varying features |
| Complex 3D forms | 5-axis toolpath with constant tool contact angle | Eliminates step marks at curvature transitions |
For particularly demanding applications like medical implant components, we sometimes employ custom-ground tools with specialized geometries designed specifically for certain curved profiles. This approach has allowed us to achieve mirror-like finishes (Ra < 0.2μm) directly from machining, eliminating secondary finishing operations.
Conclusion
Achieving excellent surface finish on curved surfaces requires balancing tool path direction, step-over distance, and tool geometry. By applying these principles, you'll reduce post-processing costs while delivering the quality your customers demand.